• The
Beauty of Pulse Arc Welding •
(Micro-surgery)
As any silversmith
knows, silver solder is the ideal material to use when joining
sterling by the traditional method of brazing. Sometimes I will
receive an object which has been lead-soldered in the area in need of
repair (or re-repair). Sometimes the joined area is not visibly
accessible, and I don't know if lead has been used.
In either case, I
cannot use silver solder because the high temperature required will
melt any lead in the joint and allow it to form its own alloy with
the silver. The lead is acting like the Ebola virus and devouring the
silver. Not pretty! And, using a low temperature tin/silver solder
won't give me a sound joint or good silver color. For this reason, I
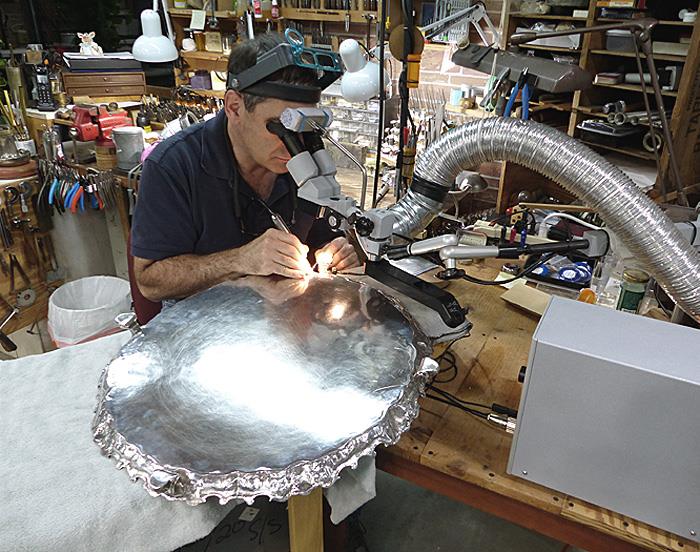
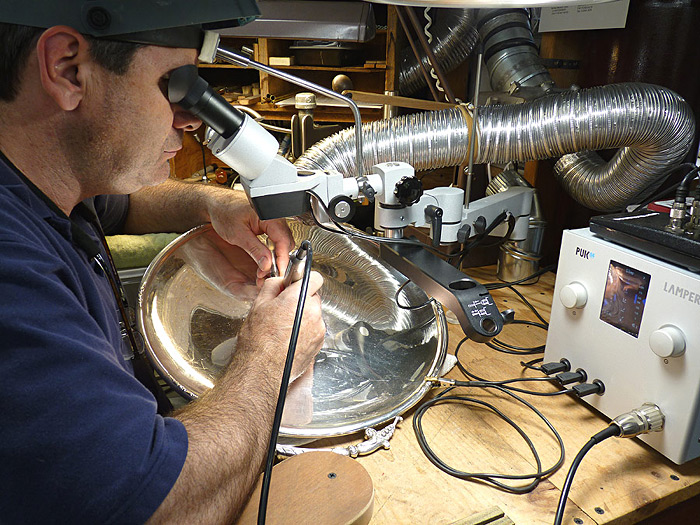
use the German-made Lampert PUK04 pulse arc welder – the first
silversmith in North America to own this latest model. Pulse arc
welding allows me to use solid sterling wire for a prefect color
match (silver solders contain less fine silver than sterling).
The pulse arc
welding principle: Non-toxic argon gas is pumped through a handpiece
and engulfs the welding area with a protective atmosphere to
eliminate firestain. An electric arc (energy flow) is created from
the point where the electrode touches the workpiece. As the electrode
retracts, the arc is drawn up from the point of contact. Exactly
here, melting occurs, and the result is a clean and stable weld.
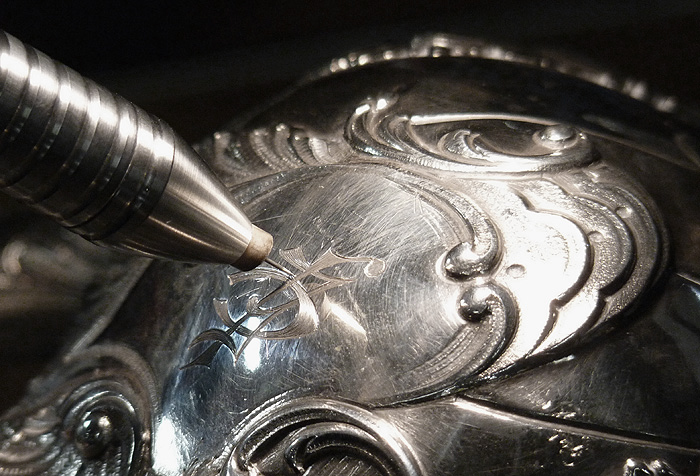
Filling in
engraving with sterling, not silver solder.
The high degree of
precision is made possible by touching the workpiece with the tip of
the electrode. The electrical arc necessary for welding is thus
generated from exactly this point. By varying the angle at where the
electrode tip touches, welds can be accurately steered in the desired
direction and previously applied metal "distorted" or
modeled. The heat is so localized that I can handle the object
without getting burned, even at 1,640 degrees – the melting
point of sterling!
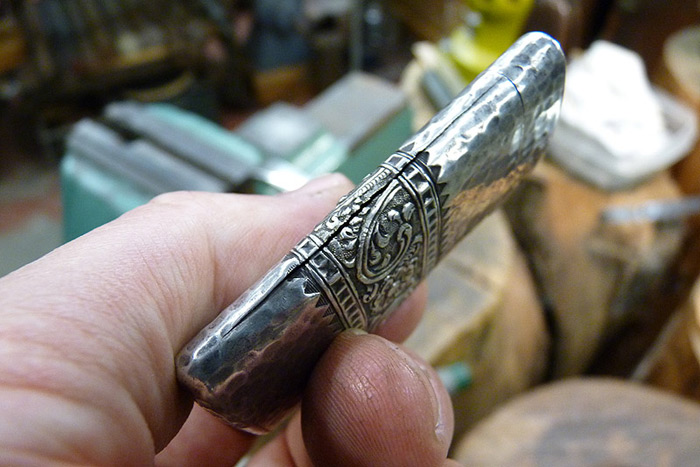
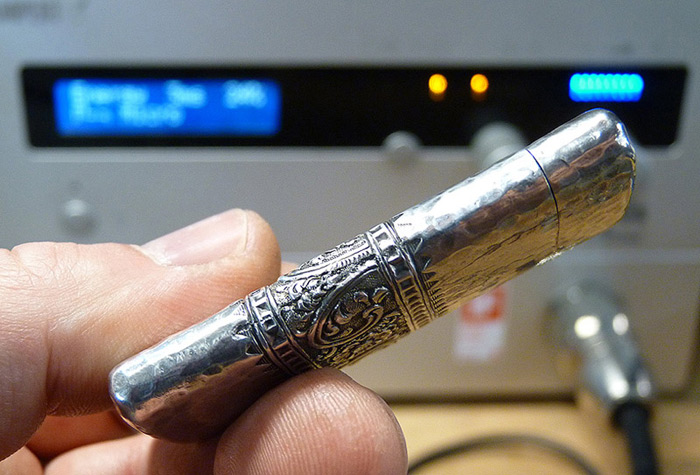
Gorham Sterling
Match Safe
Above is a
match safe that was repaired using pulse arc welding. See additional
images and the entire process here.
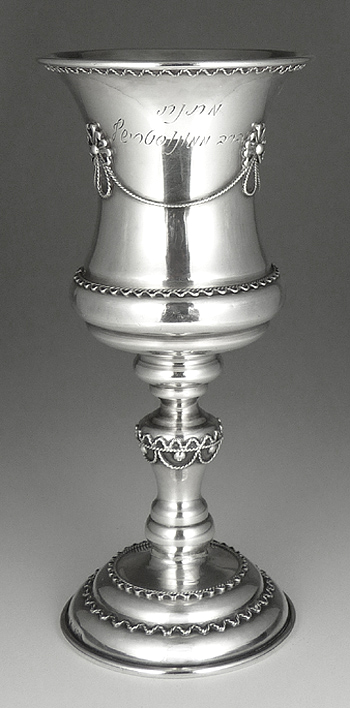
Israeli
Sterling Kiddush Cup
This Kiddush cup was made from
very thin material. I reshaped the torn area which extended 3/4 of
the way around the stem. I then brought together both sides of the
split and welded them together. All voids were filled by welding with
sterling wire for a perfect color match. I straightened the stem and
leveled the bottom and top rims. I then removed the dried polish and
performed a very light hand polishing.
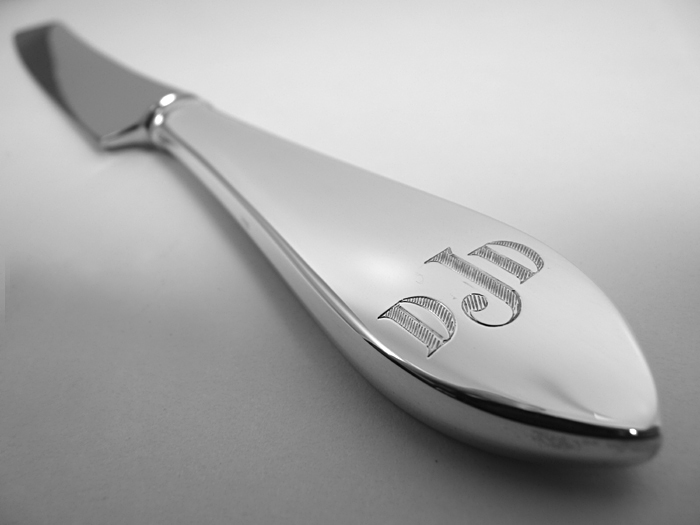
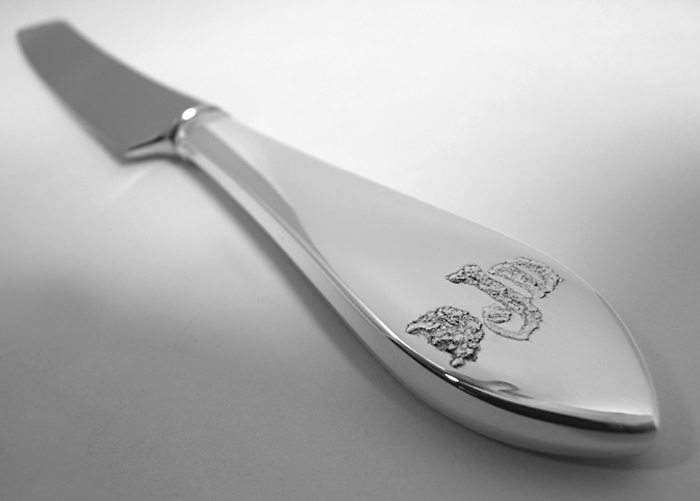
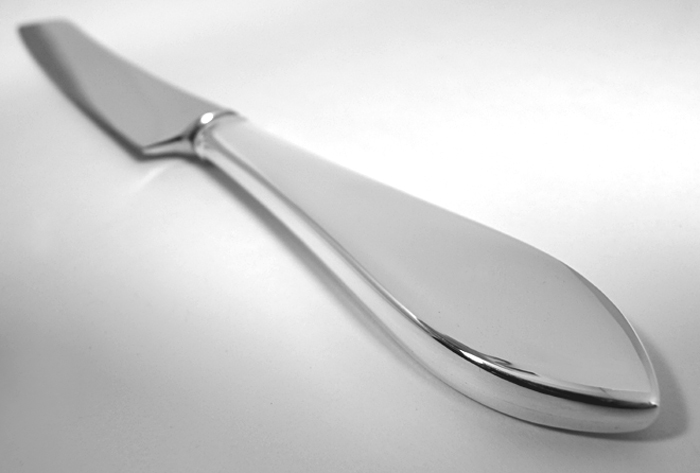
Sterling knife handle
Sometimes engraving must be
filled in if the material is too thin to eradicate. So was the case
with this knife handle.
The monogram disappeared after
being filled with the same alloy the object was made of.
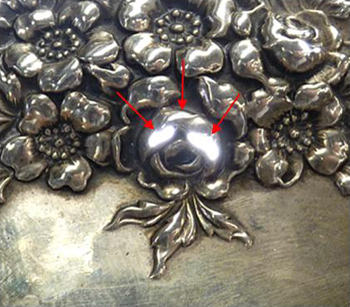
Wallace Sterling
Cut Glass Jar Cover
This 5½"
Wallace sterling cut glass jar cover was stamped and spun out of
extremly thin material. The image on the left shows light coming
through three areas of a flower as well as other areas on the piece.
These areas were worn through from over polishing. The edges of the
open spaces were the approximate thickness of a piece of tin foil
(.001"). The PUK worked beautifully, and I used .25mm sterling
wire for a perfect color match.
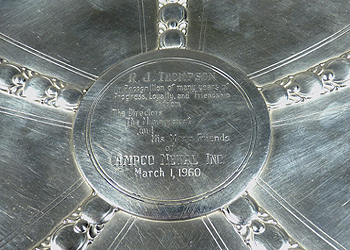
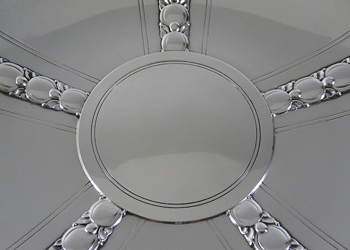
10" Tiffany
Sterling Plate
This plate came to me with chased
lettering that the customer wanted removed and the overall look
brought back to its original beauty. I couldn't planish out the
lettering because the metal would dramatically deform and loose
thickness. I couldn't fill it in with silver solder because of all
the pin holes and color difference that would result. And
electroforming wouldn't do. This job required the use of my PUK and
was going to very complex. The lower parts of the lettering were very
thin as it was chased on a steel form, and the slightly rounded
corners would be more difficult to level with the overall disk.
Additional images can be found here.
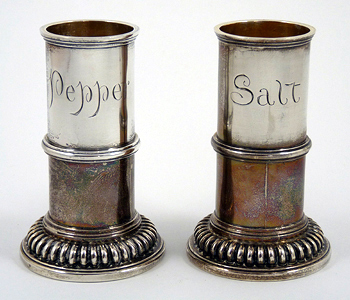
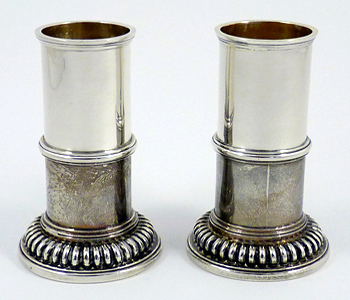
1730 Sterling
Caster Bodies
Someone had the clever idea to
engrave these 1730 caster bodies with "salt" and
"pepper." (The tops were left off to show a larger area of
the engraving.) Engraving the function of these pieces is certainly
not something I would have done, but to each his own. Since the
engraving was too thin to remove by filing, I used sterling wire and
the PUK to fill it in. When I photographed the "after"
image I had not yet polished the bottom sections of the casters (and
the change in the tarnish color is due to the casters handling while
welding). The total time it took to fill in the engraving,
repatinate, and hand finish the casters was three hours. Larger
images can be found here.
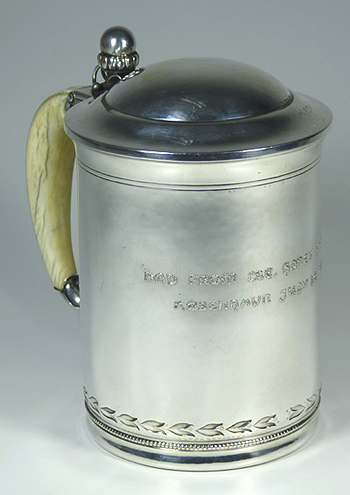
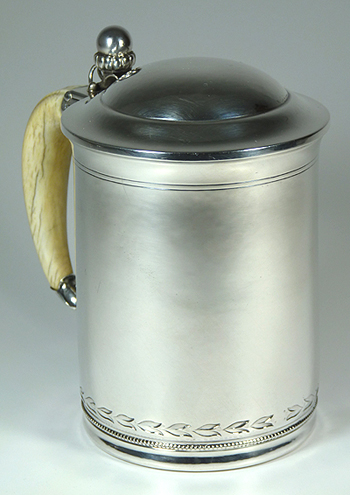
Georg Jensen
Sterling Tankard
This rare Jensen piece shows
chased lettering that I filled in with sterling (left). The image on
the right shows the finished job. A few pin pricks were left to blend
with the rest of the surface. If this hadn't been done, the filled
surface would have looked too refined.
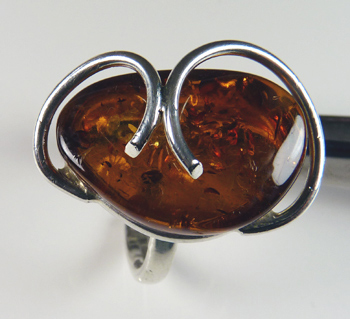
Sterling &
Amber Ring
This ring's amber was glued onto
the setting with decorative wires above, only 1/16" from the
stone. As you can see in the image on the left, the wires had come
apart. Since I couldn't remove the stone, I had to weld the wires
back together with the stone in place. Here's the process I used: I
pried open the wires and removed the silver solder. The wires were
then sprung back together. I slid index card stock between the wires
and the amber to prevent the stone from burning during welding. The
wires were then welded together with sterling filler wire.
Discover the more trechnical side
of pulse arc weldinghere.

 Israeli
Sterling Kiddush Cup
Israeli
Sterling Kiddush Cup